Help Center
How-To Guides
Step-by-step instructions for common Retriever workflows.
Retriever Pocket: Authorizing Waitstaff Phones
Retriever Pocket is our mobile POS, enabling staff to take orders at the table. For strict security, physical devices must be paired with the pub cryptographically before they can access the order screen.
Step 1: Open the Vault
- As a Manager, log into the main iPad POS at the bar.
- In the top right corner, tap the purple Pair Waitpad button.
- A secure QR Code will be generated on the iPad screen. This code expires within minutes.
Step 2: Scan & Unlock
- The waiter uses their personal iPhone/Android camera to scan the QR code on the iPad.
- A popup link will appear. They must tap it to open the local Retriever Pocket portal.
- Their device will automatically complete the security handshake and unlock the POS interface. This authorization lasts exactly 12 hours.
Converting Unit Types (e.g., Bacon Packs to Kg)
For ingredients like Bacon or Cheese that you might buy in different pack sizes from different suppliers, it is crucial to track them by a standard base unit (like Kg) so your stock valuation and price variance metrics are accurate.
- Navigate to Inventory and ensure the Base Unit of the item is set to "Kg" or "Litre".
- When an invoice arrives with a 5lb case, click Upload Invoice (AI).
- Review the line items. Instead of logging "1 Case", you must convert it. A 5lb case is 2.27kg.
- Use the Unit Multiplier tool or manually update the quantity: set Quantity = 2.27 (if 1 pack received) and divide the total Unit Price by 2.27 so it reflects the cost per Kg.
- Approve the invoice. Your inventory count and price benchmark will now be perfectly normalized to Kg!
Using AI Price Benchmarking
The Price Benchmarker lets you instantly compare what you're paying against real-time data from major suppliers like Brakes or Bidfood.
- Navigate to the Suppliers page.
- Click on the Smart Supplier Infographic tab.
- You will see a list of your most purchased ingredients. Click the Benchmark Price (AI) button next to an item like Chicken Thighs or Cheddar.
- The Retriever Agent will securely scrape supplier catalogs on the web and generate a summary report, letting you know if you are overpaying compared to the market average!
Night Manager & Labour Syncing
You no longer have to manually sync Square staff hours or push daily flash reports.
- Automated Sync: Every night at 3:00 AM, the Night Manager cron job automatically runs to sync all Square Shift/Labour data natively into the Dashboard.
- What you need to do: Ensure your staff use the Square POS to Clock In and Clock Out accurately.
- The result: When you open Retriever the next morning, the Dashboard's "Labour %" ring chart accurately reflects the previous day's wages vs. sales without any manual clicks required.
Invoices: Upload, Process, & Approve
The invoicing workflow follows a strict three-step lifecycle: Upload, Process, and Approve to ensure your stock changes are validated.
- Upload: Navigate to the Invoices tab. Click "Upload Invoice (AI)". Drag and drop a PDF or PNG. The AI instantly reads the line items and vendor details to draft the invoice.
- Process (Review): The invoice is now in the `Processed` state. Click "Review". Double-check that the AI correctly mapped the line items to your existing Inventory list. Your stock HAS NOT updated yet. Make adjustments to Unit sizes or prices here.
- Approve: Once you confirm the line items are 100% accurate, click "Approve Invoice". This locks the invoice and officially adds the quantities to your live Stock Inventory.
Processing Expense & Overhead Invoices
Not all bills involve physical food or drink inventory. When you receive an invoice for overheads (e.g., equipment repairs, cleaning supplies, or marketing), you must use the Skip Inventory (Expense) route to bypass the stock logic.
- Upload the invoice normally via "Upload Invoice (AI)".
- On the Review screen, toggle the Skip Inventory (Expense) switch in the top right corner.
- The item mapping tools will disappear. You will now see the Expense & Overhead Routing section.
- Select your Target Account from the dropdown (e.g., 7400 - Equipment or 7500 - Maintenance).
- Click Approve. The invoice total and VAT will be journaled correctly into your ledger, but zero stock will be added to your inventory!
Automating POS & Recipe Creation NEW
When a brand new item like a new guest ale arrives on an invoice, you can construct its Master Inventory, Square POS button, pricing, and Recipe all in one click directly from the invoice review screen.
- During the Invoice Review stage (Processed status), select Create Sales Item from the mode toggle in the top right of the item card.
- The system will reveal a setup form. Enter the Sales Name exactly as it should appear on the Square till.
- Input your target Retail Price (Gross).
- Ensure the Master Unit (e.g., Pint, 330ml) and Yield (Pack Size) (e.g., 72 pints for a 9G cask) are correct.
- Click Automate & Link. The system instantly creates the stock item, pushes the Square POS catalog item, and generates the linked recipe!
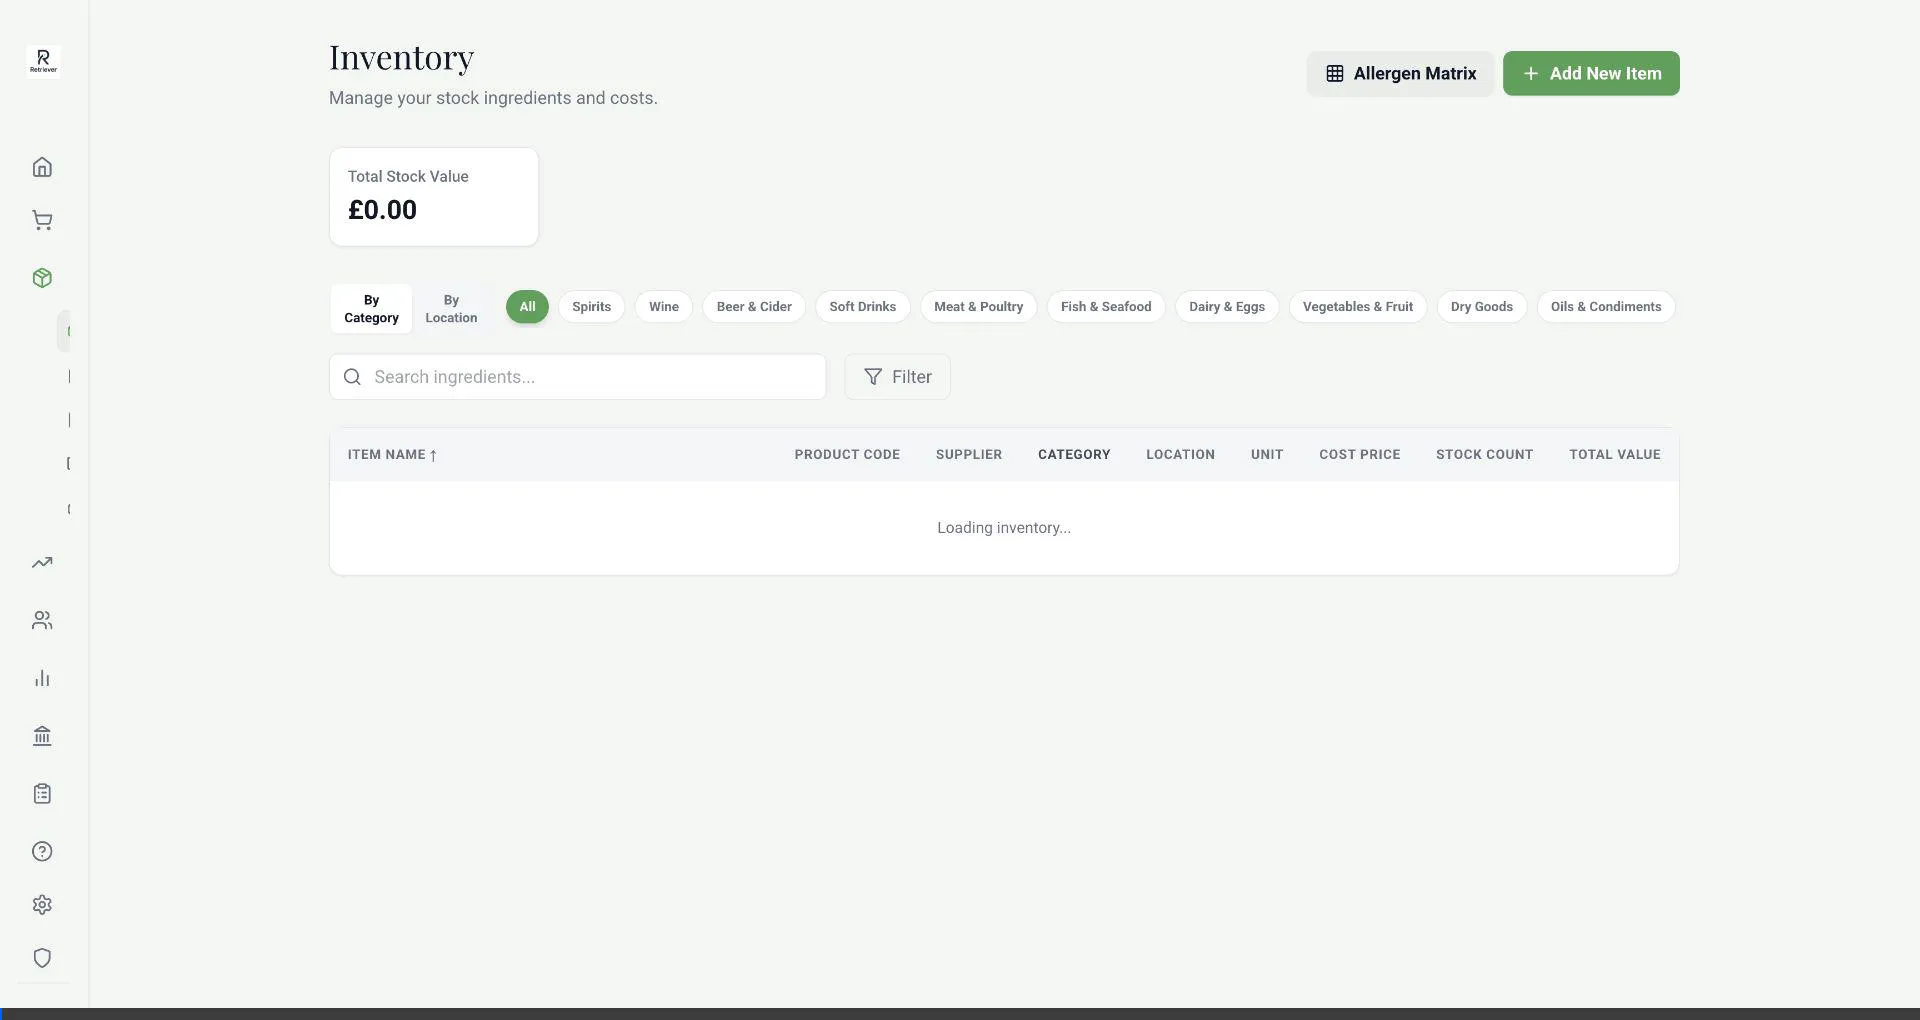
Adding Items to Inventory
Before you can sell a recipe or review an invoice, the raw ingredients must exist in your Inventory.
- Navigate to the Inventory tab and click + Add Item.
- Enter a clear, descriptive Name (e.g., "Chicken Thighs (Fresh)").
- Select a Category (Food, Bar, Kitchen, Other) for accurate reporting.
- CRITICAL: Select the correct Base Unit (Kg, Litre, Unit). Always track goods by weight or volume, not "Box" or "Pack", for accurate recipe costing.
- Input the baseline Unit Cost Price and assign a default Supplier. Include a Par Level to enable AI auto-ordering.
Creating New Recipes
Once your ingredients are in Inventory, you can build Recipes to track profitability and theoretical stock usage when items are sold.
- Navigate to the Recipes tab and click Create Recipe.
- Enter the Item Name (e.g., "The Perfect Espresso Martini").
- Set the Type to "Menu Item" or "Sub-Recipe" (for batch preps).
- Select the appropriate Category (e.g., "Cocktails").
- Enter the Selling Price (Gross). The system will calculate the net price automatically.
- Click Create Recipe. You can then click into the recipe to start adding inventory ingredients.

Reviewing Automated Price Changes
When supplier costs increase, Retriever proactively calculates new recipe selling prices to protect your Gross Profit margin and stages them for your review.
- Navigate to the Stock & Menu section in the sidebar and click on Price Review.
- You will see a list of recipes where the ingredient cost has increased, dropping the GP below your target.
- Review the Current Price against the Proposed Price. The system calculates the exact price needed to restore your margin.
- Click Approve to accept the new price. This will automatically update the item's price in your Square POS and sync it across the system.
- Click Reject if you prefer to absorb the cost increase and maintain the current ceiling price for that item.
Submitting an Invoice to Xero
Retriever is your operational ledger, but Xero remains your statutory accounting ledger. Approved invoices must flow to Xero.
- Step 1: An invoice must be historically marked as Approved in Retriever. Verify this via the Invoices list.
- Step 2: In the Invoices list, locate an approved invoice. You'll see an action button or a row menu option to Send to Xero.
- Step 3: The system automatically formats the invoice into a Xero-compliant Draft Bill, mapping the Retriever categories (Food, Bar) to your specific Xero Nominal Account codes (e.g., COGS-Food).
- Step 4 (In Xero): Log into Xero, navigate to "Bills to Pay" -> "Drafts", and finalize/approve the bill for payment scheduling.
Waitlist & Broadcast Engine NEW
Never let a table go empty again due to last-minute cancellations. The Waitlist system lets you harvest demand and instantly blast availability.
- Guests visiting the booking widget will see a "Join Waitlist" option if their preferred times are completely full.
- When a table cancellation occurs, navigate to the Operations Dashboard and click the Waitlist tab.
- In the Broadcast Availability panel, enter the Target Pax (the size of the table that just opened up) and click Send Notification.
- The system will instantly email every waitlisted party matching that size with a unique, fast-track "Priority Booking" link. The first guest to click and book claims the table!
- Once a guest is seated or their need expires, you can manually click "Remove" to take them off the Waitlist view.
Autonomous Purchasing & Marketplace NEW
Retriever acts as your automated purchasing manager. By maintaining 'Par Levels', the system calculates deficits, continuously shops the Marketplace for better prices, and checks out on B2B portals for you while you sleep.
1. Establish the Baseline
In the Inventory tab, ensure each core ingredient has a defined Par Level. This is the volume the bot will constantly attempt to maintain.
2. 1-Click Switch & Save
When the Apex Benchmarking Engine flags a cheaper alternative supplier, review it and click Accept. The application instantly rewires your internal database to point future purchases of that ingredient to the new supplier.
3. Overnight Reorder Engine
At exactly 3:15 AM every night, the Smart Reorder Engine wakes up. It subtracts your live physical stock from your target Par Levels, groups all the deficits by their respective suppliers, and calculates the exact order volumes required.
4. Live Dispatch Robots
Once the supplier baskets are constructed, the system automatically spawns headless checkout robots. These agents log directly into your B2B Supplier portals (like Fresho or First Choice), add the calculated items to the cart, and submit the orders autonomously.